Social Prosthesis is a moving appendage designed as two headpieces made from rigid and soft structures. The soft skin of the prosthesis curls and contracts when triggered by touch on the face.
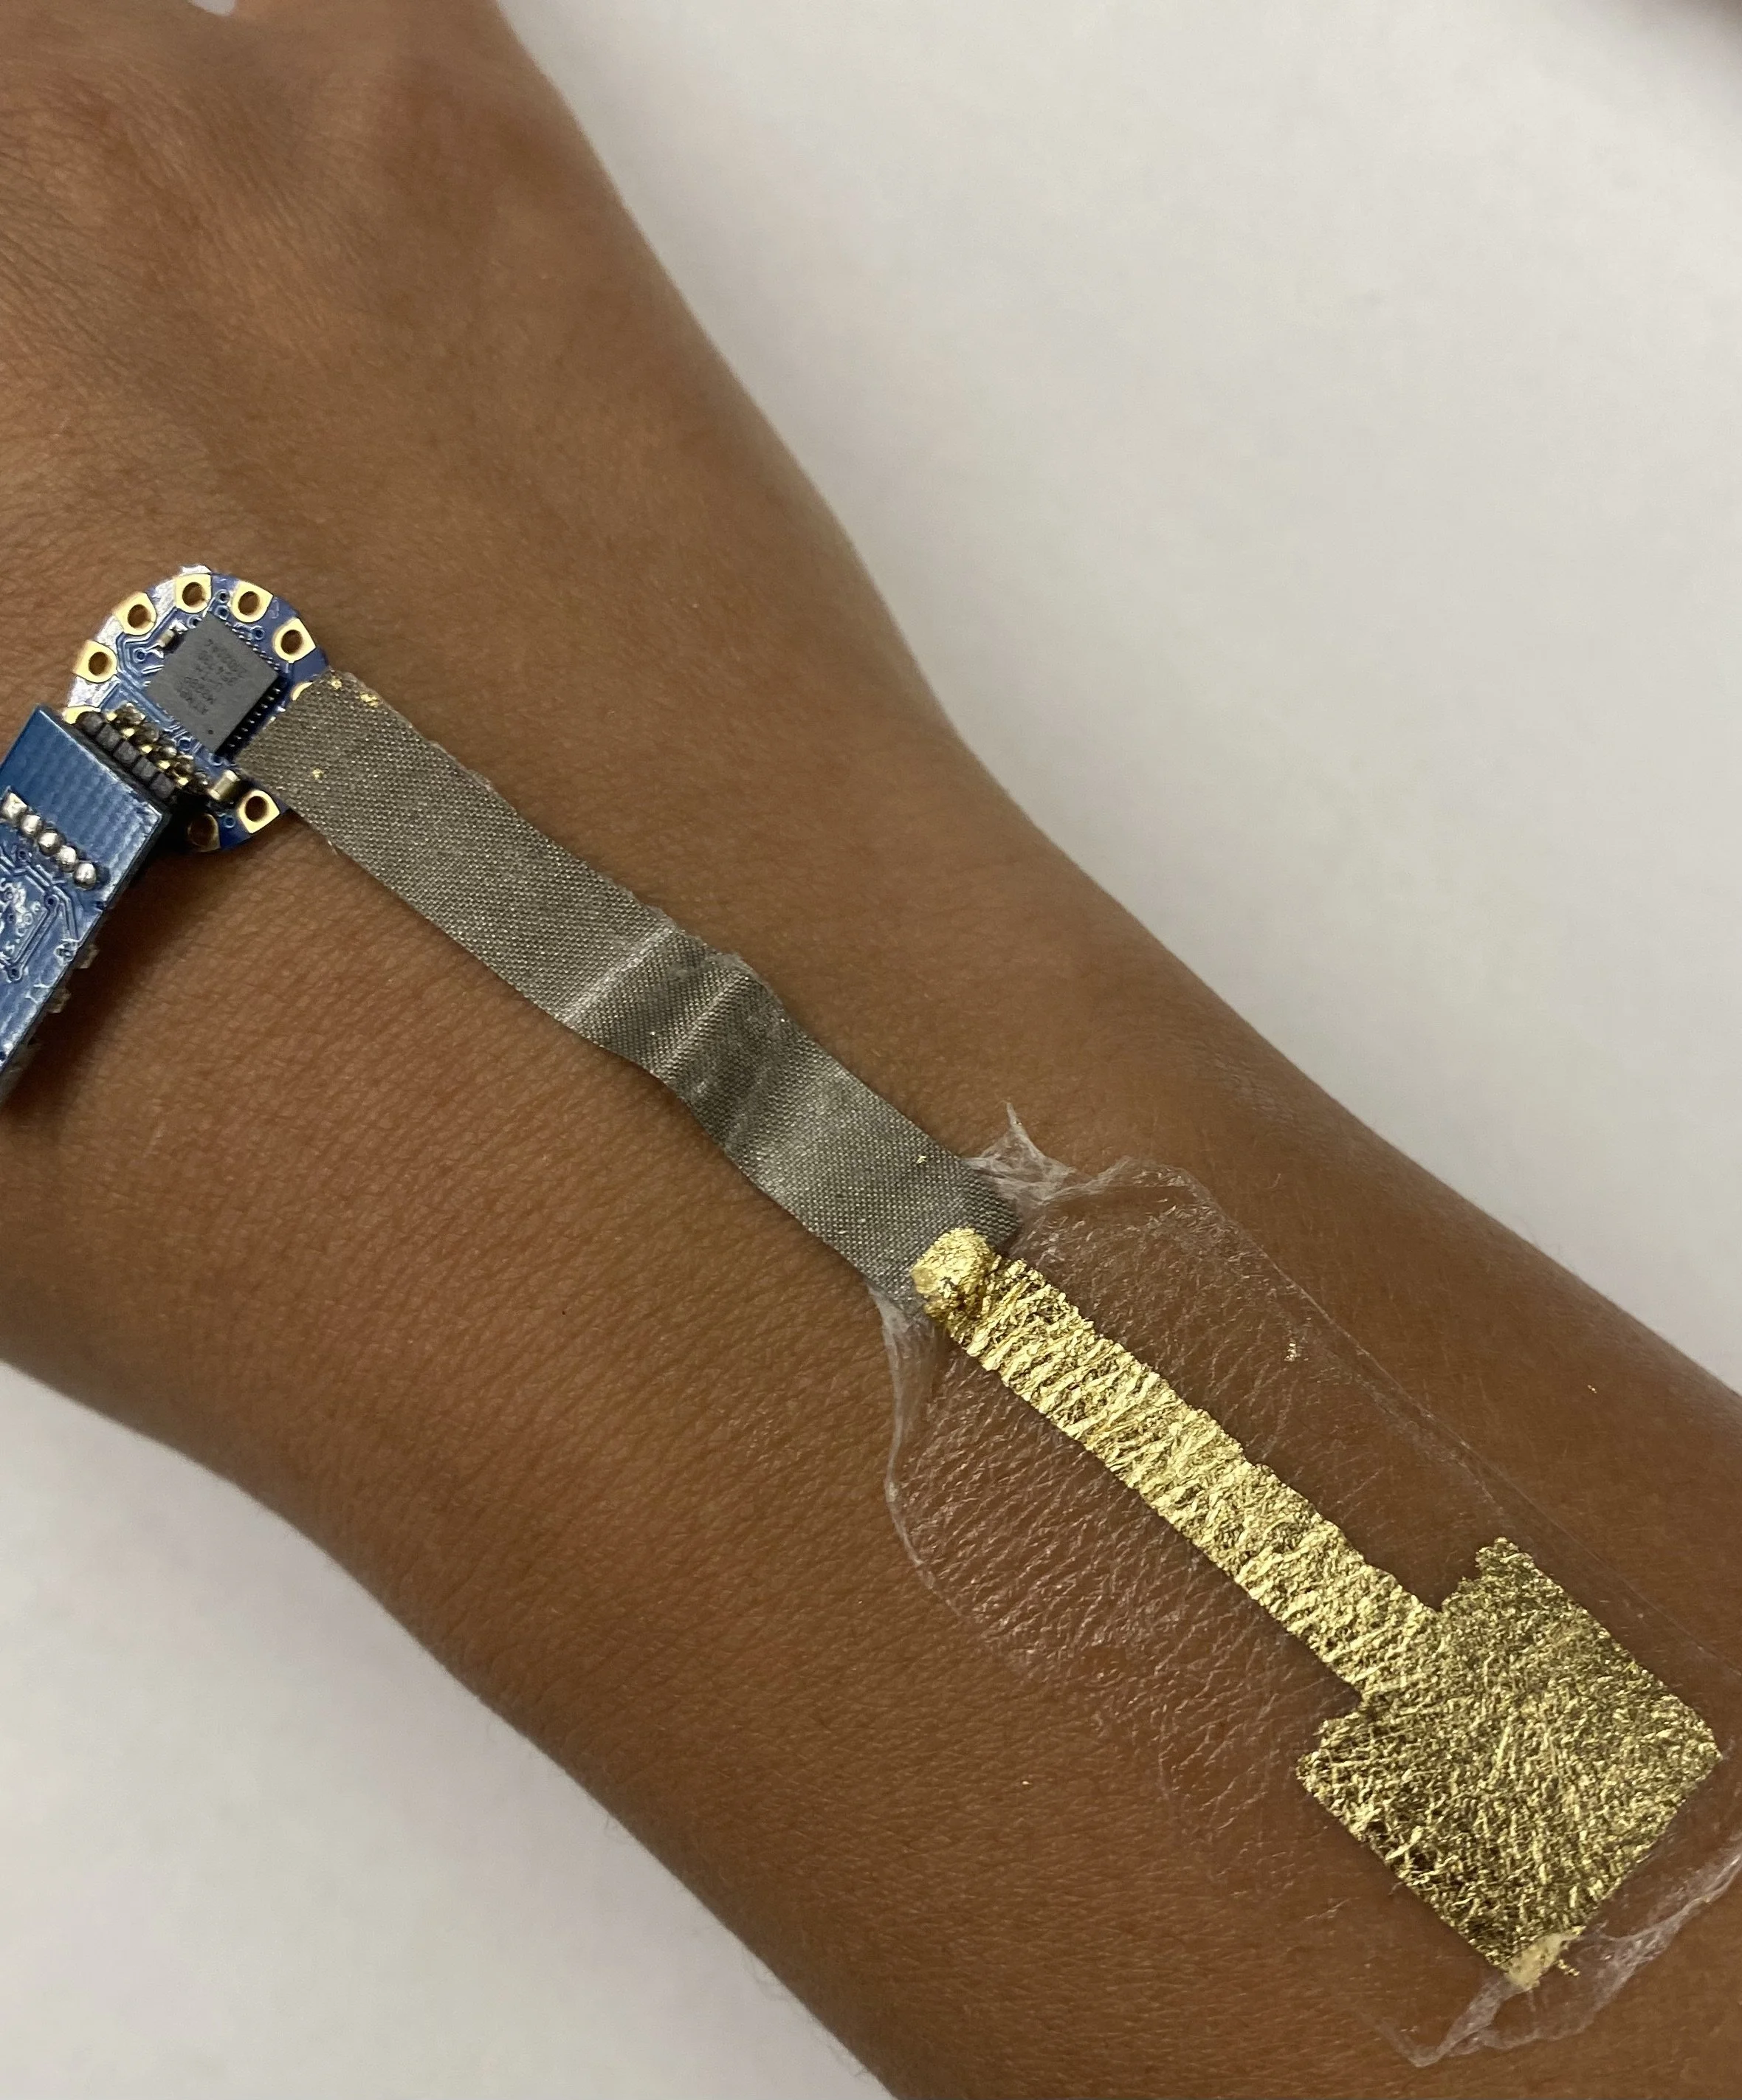
Social Prosthesis is made up of 3D resin print, silicone skin, and an embedded shape memory alloy circuit attached to a Duoskin capacitive touch.
Referencing the definition of prosthetic sociality, written by Mimi Thi Nguyen in the 2003 essay Queer Cyborgs and New Mutants, Social Prosthesis is an exploration of how technologies enhancing the human body create meanings that extend past the merging of biological and artificial—that must contest with the social and political contexts of its time.
Tools and Materials
EcoFlex NearClear 00-45
Shape Memory Alloy Spring, 0.5cm(5mm) coil diameter , 0.15 wire diameter, Pitch: wire size x2, transition temp 45C
Mold for silicone casting
Isopropyl Alcohol 99% - 99.8%
Resin printer
Korea Crystal Tec Transparent Stretchy Beading Line String 0.5 (or any thin, stretchy elastic to hold the nosepiece in place)
Sandpaper (3M Wetordry 213Q P800-grit)
Silicone Pigment (optional—for coloring silicone)
Alcohol Ink (optional—for coloring resin)
Art Resin (optional—for glossing resin)
32 AWG Copper Wires
15k Resistor
SOT23 Breakout Board (as perf board)
Multimeter
Optional: Isopropyl Mysristate
Construction Steps
Preparing the Resin Print
Resin Print
1. SLA print the two files of the Social Prosthesis design.
2. Carefully remove the 3D print from the build plate and soak in isopropyl alcohol (99-99.8%)
3. Cut the supports from the 3D print. The design has delicate and thin details, so it is important to remove the supports to determine that you are not cutting parts of the model.
4. Once supports are removed, give a rinse in IPA for any remaining support debris.
5. Using super fine sandpaper (P800), sand all the 3D prints gently to remove any remnants of supports. If needed, you can take an X-acto knife and gently remove any little broken support pieces, but be careful not to cut the model itself.
OPTIONAL Steps(1-3)
1. If you want to color the resin at this step, you can take alcohol ink and dilute it using isopropyl alcohol to achieve the desired opacity. Then, taking a paintbrush, coat the resin structures with the alcohol ink mixture. The resin will absorb the alcohol ink.
2. If you would like to gloss the resin at this step, take Art Resin and mix equal parts resin (black cap) and hardener (white cap) in a I1:1 ratio in a separate container with a disposable popsicle stick or paintbrush. Be sure to replace the caps correctly on the bottles when complete.
3. Using a (disposable) paintbrush, lightly coat the Art Resin on the resin print surfaces that require gloss. Allow to dry for at least 24 hours.
NOTE: Avoid putting the Art Resin on the surfaces that you want to stick to the face, to avoid creating a slippery surface for makeup application.
Circuit Schematic
FUNCTIONALITY
CIRCUITRY & PREparing SMA
1. Construct circuit following the circuit schematic
2. Crimp the ends of the SMA before silicone casting, in preparation to be soldered to the circuit.
Testing the SMA
1. Using a multimeter, test both ends of the SMA to ensure conductivity.
2. Using a DC power supply, you can test the curling of the silicone to ensure that it is moving as desired.
3. To reset: wait until SMA has cooled, and then manually stretch the SMA back to its maximum length.
Testing Procedure
1. Power the circuit with LiPo battery
2. Turn on switch on the Gemma M0, onboard LED shows yellow
3. Touch temporary tattoo, onboard LED turns purple
4. SMA should start shrinking
5. Wait for 45 seconds
6. SMA shrinking stops, onboard LED turns cyan
Silicone casting with purple color
Fabrication
Casting the Silicone
1. Measure approximately 8g of Part A and approximately 8g of Part B of Ecoflex Near Clear 00-45.
2. Mix the two equal parts thoroughly using a popsicle stick.
OPTIONAL: to color the silicone, drop a pinprick of silicone dye into the clear mixture and mix. If you are trying to make a clear-colored gradient, create a separate silicone mixture with a colored dye.
4. Place into degassing chamber for 10 min to remove any air bubbles
5. Place SMA spring into mold and arrange to be cast into the silicone
6. Pour carefully into the mold, covering the SMA. Make sure the ends of the SMA are uncovered
7. Use a mixing stick or other tool to pop any extra air bubbles
8. Let cure for 4 hours.
9. When cured, carefully remove the silicone from the mold.
Skin Application
Skin Application
1. To apply the headpiece, you can take 3rd Degree and mix a pea-sized amount of Part A and B to create a silicone adhesive for the skin.
2. Once mixed, apply a thick layer to the back of headpiece on the areas that will contact the forehead
3. Press the headpiece with the silicone adhesive to the forehead and hold for 1 minute to let the product cure.
4. Gently test to make sure the headpiece is adhered to the skin. It will not be a super tight hold, but effective enough to hold up the piece securely while also easy to remove after.
5. To apply the nosepiece, hold the nose bridge of the piece to the nose (as if putting on glasses). Use the elastic band to secure in place.
6. The circuit should also be lifted to hide behind the head.
REMOVAL
1. Gently peel the piece off, and remove the silicone adhesive from the back of the headpiece. It should come off in one piece.
2. Use isopropyl Myristate to remove any extra residue


